
How to Assign Kiosk/Webclock to Employees
Introduction
In today’s digital workspace, tracking employee attendance accurately is essential—and this starts with knowing how to assign Kiosk/Webclock to employees. Assigning kiosk or webclock access ensures that each team member can log time efficiently and securely, whether through a fixed terminal or a remote clock-in system. If you’re wondering how to assign Kiosk/Webclock to employees in your NextGen Workforce system, this step-by-step guide will simplify the process and help you get started right away.
Steps to Assign Kiosk/Webclock Access:
- Log In to your NextGen Workforce account.
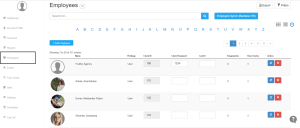
- Navigate to Employees:
- Go to the Dashboard.
- Click on Employees.

- Search for the Employee:
- Search for the employee you wish to assign kiosk/webclock access.
- Search for the employee you wish to assign kiosk/webclock access.
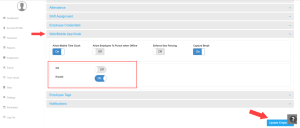
- Assign Kiosk/Webclock:
- Scroll down to Web/Mobile App Kiosk.
- Locate the list of existing kiosk names.
- Toggle the On/Off button to enable access for the selected kiosk.
- Click on the “Update Employee” button to ensure the assignment is updated.
Assigning a Kiosk to All Employees by Default
If you have only one kiosk in your NextGen account and wish to assign it to all employees:
- Go to Settings in your NextGen account.
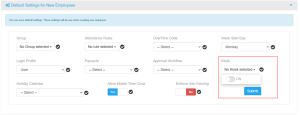
- Scroll down and navigate to the section labeled “Default Settings for New Employees.”
- Check for “Kiosk” and click on the dropdown menu.
- Select the desired Kiosk from the existing options.
- Click Submit to save your changes.
- After submission, click on the check icon in front of the kiosk dropdown to confirm the assignment.
That’s it! The selected kiosk is now assigned to all employees in your system. To learn how to set up payroll cycles in NextGen Workforce : How to Set up Payroll Cycles
If you encounter any issues or need further assistance, feel free to contact support!


