Assign Overtime to Employee
Assigning overtime rules to employees ensures accurate payroll processing based on company policies and labor laws. This guide will walk you through the process of assigning overtime to employees manually and through default settings.
Steps to Assign Overtime to Employees Manually
Navigate to the Employees Section
-
-
Go to Dashboard > Employees.
-
Click Edit.
-
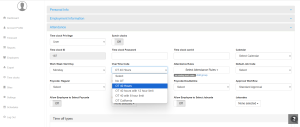
Go to the Attendance section.
-
Select the Overtime Code that applies to the employee.
- Click Save to apply the overtime rule to the selected employee.

-
Assigning Overtime Through Default Settings
If you want to assign the same overtime rule to multiple employees at once, you can set up a Default Overtime Assignment in NextGen.
Steps to Assign Overtime Through Default Settings
Navigate to Default Settings
-
-
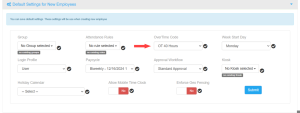
Go to Dashboard > Settings > Default Settings for New Employees
-
Find the Overtime Code option.
-
Select the appropriate overtime rule from the dropdown menu.
-
Click Submit to apply the selected overtime rule.
-
Click on the check mark after Overtime Code to assign it to all current and future employees automatically.

-
Types of Overtime Rules Available
The following overtime (OT) rules can be assigned based on company policies:
-
OT 40 – Employees receive overtime pay for any hours worked over 40 hours in a week.
-
OT California – Follows California’s overtime rules.
-
OT 40 (8 Hours Limit) – Employees working over 8 hours in a single workday qualify for overtime pay, in addition to exceeding 40 hours in a workweek.
-
OT 40 (12 Hours Limit) – Employees working over 12 hours in a single workday qualify for overtime pay, along with exceeding 40 hours in a workweek.
📌 Note: Companies can also set up custom overtime rules to align with specific policies.
Need Assistance?
If you encounter any issues while setting up overtime assignments, please contact our Customer Support for assistance.
📧 Support Link: NextGen Workforce Support


